シェーダーやGPUを使って遊びたい時によくCustomRenderTextureを使います。「カスタムレンダーテクスチャって何?」と聞かれて「画像がマテリアル通ってどんどん変更されるすごいやつ」としか説明できなかったので、再発明してみます。
はじめに
CustomRenderTextureはUpdateが呼ばれると元の画像がマテリアルを通って再描画される仕組みです。これを以下のアプローチで自作します。Graphics.Blitなどは使わずUnityエディタ上で再現します。
- 板ポリにRenderTextureを貼りつけ
- カメラで板ポリをRenderTextureに描画
まずは必要なアセットを準備
RenderTexture・マテリアル・シェーダーを準備します。RenderTextureのサイズは適当です。

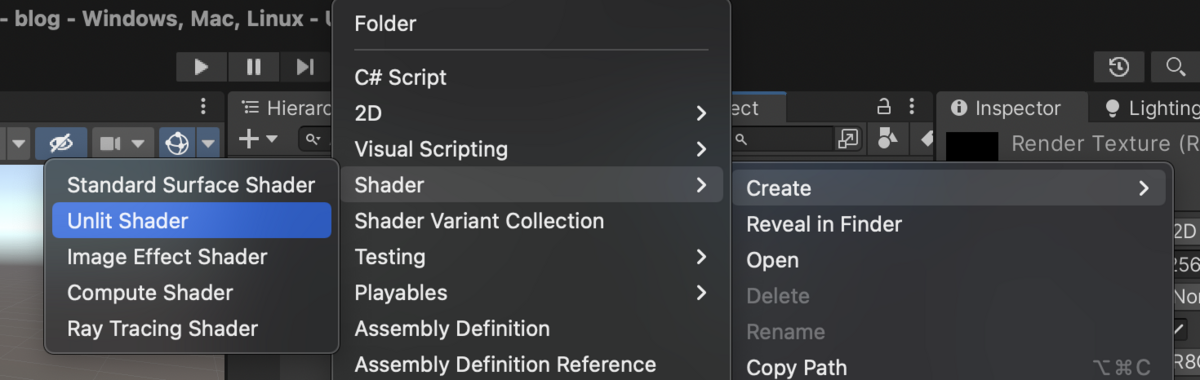
シェーダーは右クリックで作成できるデフォルトの「Unlit Shader」をいじります。フラグメントシェーダーでuvをズラしてます。
Shader "Unlit/Capture"
{
    Properties
    {
        _MainTex ("Texture", 2D) = "white" {}
    }
    SubShader
    {
        Tags { "RenderType"="Opaque" }
        LOD 100

        Pass
        {
            CGPROGRAM
            #pragma vertex vert
            #pragma fragment frag
            #include "UnityCG.cginc"

            struct appdata
            {
                float4 vertex : POSITION;
                float2 uv : TEXCOORD0;
            };

            struct v2f
            {
                float2 uv : TEXCOORD0;
                float4 vertex : SV_POSITION;
            };

            sampler2D _MainTex;
            float4 _MainTex_ST;

            v2f vert (appdata v)
            {
                v2f o;
                o.vertex = UnityObjectToClipPos(v.vertex);
                o.uv = TRANSFORM_TEX(v.uv, _MainTex);
                return o;
            }

            fixed4 frag (v2f i) : SV_Target
            {
                float2 uv = i.uv;
                uv.x += unity_DeltaTime.x;
                float4 col = tex2D(_MainTex, uv);
                return col;
            }
            ENDCG
        }
    }
}
シーンはこんな感じで配置します。


tips!
- カメラはorthographicにします
- 通常Unityのカメラは高さ固定なのでsizeを0.5にするとscaleが1のQuadとサイズが同じになります
- 描画先のRenderTextureが正方形なので視錐台も正方形になってます
初期化する
今のままだとRenderTextureの初期状態が真っ白なので、適当なテクスチャで初期化するようにします。

using System.Collections;
using System.Collections.Generic;
using UnityEngine;

public class MyCustomRenderTexture : MonoBehaviour
{
    [SerializeField]
    Texture2D m_InitializeTexture;

    [SerializeField]
    RenderTexture m_RenderTexture;

    void Start()
    {
        Graphics.Blit(m_InitializeTexture, m_RenderTexture);
    }
}

再生する

正常に動いてるように見えますが、実はたまたまうまく動いてるだけです。画像のフォーマットによっては壊れます。

これは読み込もうとしてるテクスチャに対して書き込もうとしているためおかしくなっています。なので書き込み用テクスチャと読み込む用テクスチャを2枚用意して交互にレンダリングするようにします。
using System.Collections;
using System.Collections.Generic;
using UnityEngine;

public class MyCustomRenderTexture : MonoBehaviour
{
    [SerializeField]
    Texture2D m_InitializeTexture;

    [SerializeField]
    RenderTexture m_RenderTexture1;

    [SerializeField]
    RenderTexture m_RenderTexture2;

    [SerializeField]
    Camera m_Camera;

    void Start()
    {
        Graphics.Blit(m_InitializeTexture, m_RenderTexture1);
        m_Camera.targetTexture = m_RenderTexture2;
    }

    private void Update()
    {
        var isOdd = Time.frameCount % 2 == 1;
        m_Camera.transform.position = isOdd ? new Vector3(1.2f, 0f, -1f) : new Vector3(0f, 0f, -1f);
        m_Camera.targetTexture = isOdd ? m_RenderTexture1 : m_RenderTexture2;
    }
}

おわり
CustomRenderTexture登場前はこんな感じで自作していました。